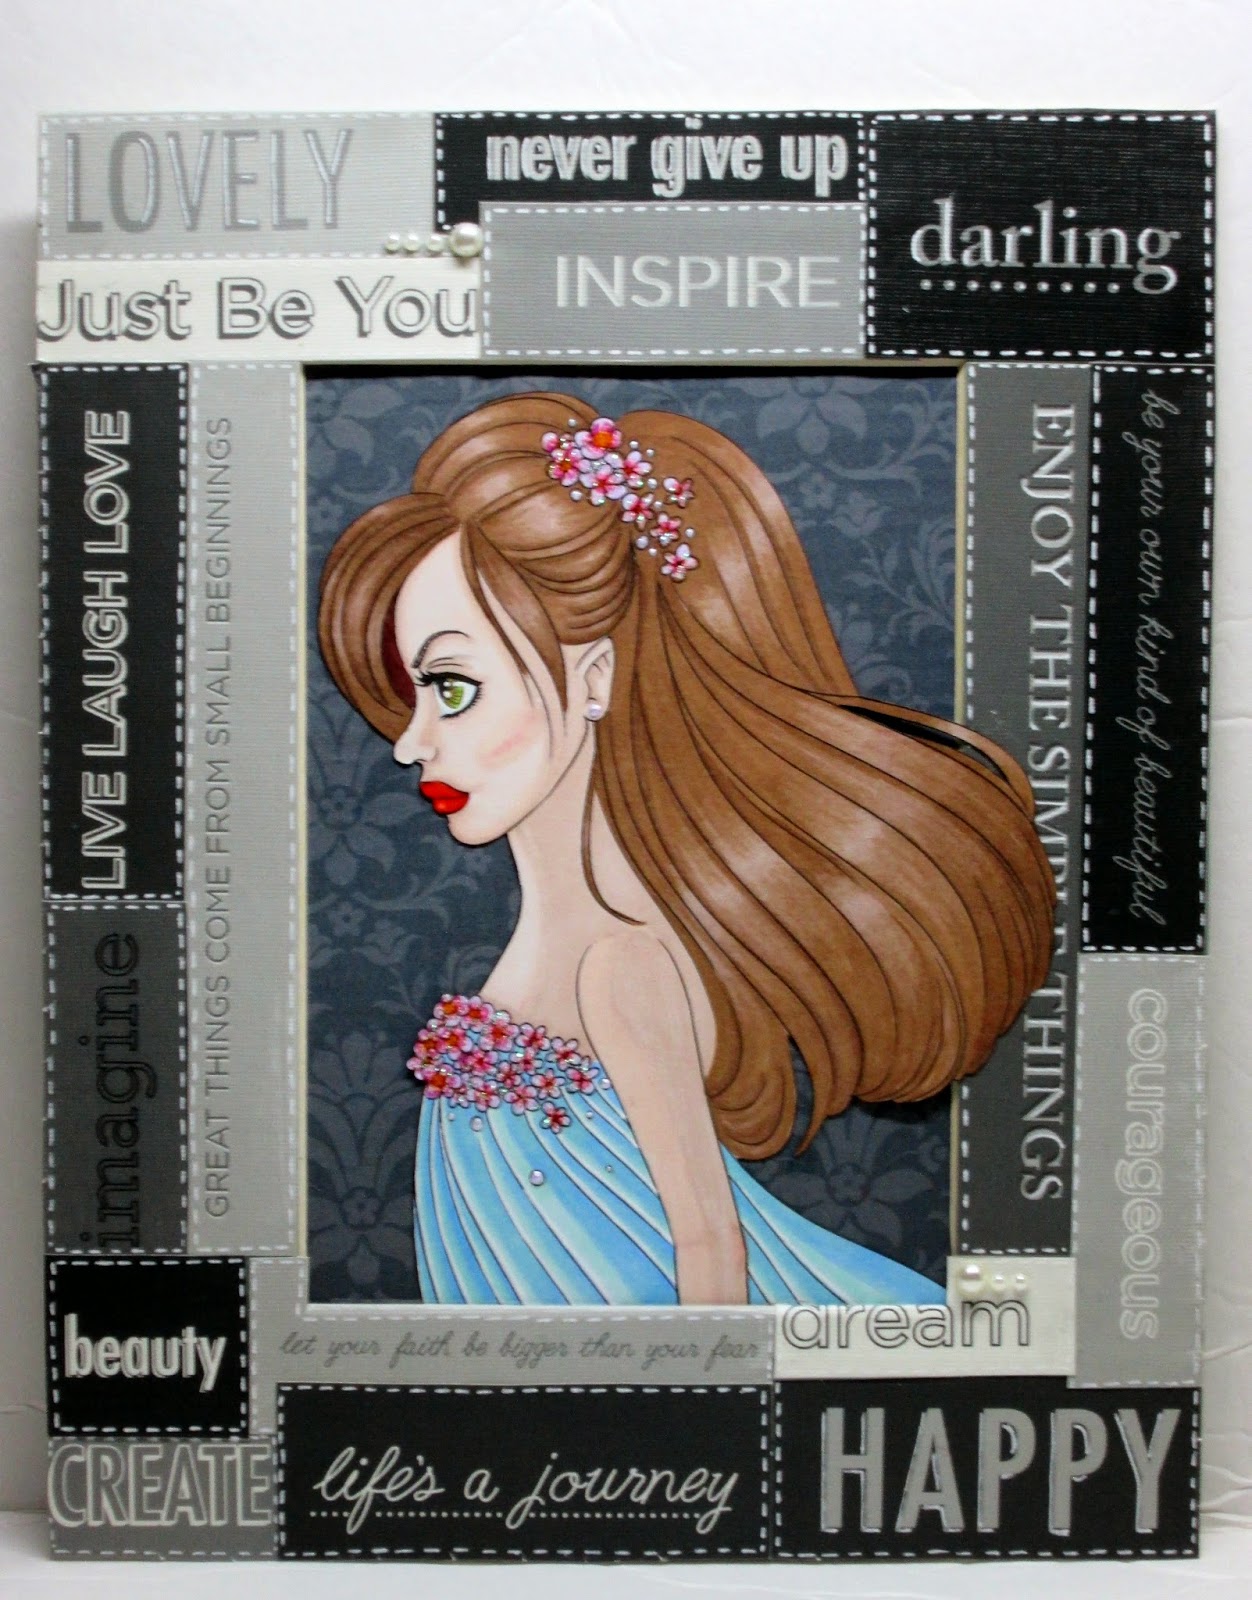
Here's the pic for you to check out:

The card measures 5 1/2 × 5 1/2".
I used a patterned paper from the Recollections "Garden Floral" 8 1/2 × 11" paper pad as my card layer.
I trimmed it to 5 1/4 × 5 1/4" and used my ATG to adhere to the card base.
With the background of the card complete, I set it aside to work on the image.
For the image, I printed it out and used my alcohol markers to color her in.
Here's a rundown of the colors I used:
- Skin - FS1, FS4, CR3
- Hair - Tan, Honey Brown, Cinnamon, E18
- Shoes and Lips- RV14

I paper pieced the teacup and saucer using a floral paper from the same Recollections paper pad.
I used a C02 marker to add some shading and a gold marker to fancy it up a bit.
I added some highlights using my white gel pen and added Glossy Accents to the shoes, teacup and saucer.
I let the Glossy Accents dry thoroughly and then fussy cut the image.
I used a fine tip brown marker around the edges and set it aside to finish up the card.
I cut a 4 1/2 × 5" rectangle out of white card stock, added a patterned paper frame around it, and attached it to the card at an angle.
I then used foam tape to attach the image inside of the frame.
To finish it off, I added some Recollections flowers, pearls, and the sentiment "Tea Time".
And voila! Card complete!

I hope you enjoyed this card for today!
Before I wrap up this post, just wanted to share really quickly, my daughter's take on this image.
I normally don't let her color these types of images but I told her this was a one time only deal.
I think she did a great job and here's the pic for you to check out:

She has certainly taken to coloring like a pro and I couldn't be any prouder.
Thanks for stopping by, enjoy the rest of your day and Peace!! :)